Getting into nail art can be a fun and creative way to express yourself. Whether you’re a beginner or just want to try something new, acrylic nail designs are a great place to start. They’re versatile and can be as simple or intricate as you like. You don’t need to be a professional to create beautiful designs; with a little practice and the right tools, you can do it at home. This guide will help you learn how to do nail art designs, focusing on easy and stylish acrylic options.
Key Takeaways
- Acrylic nails are perfect for beginners because they’re easy to work with and offer endless design possibilities.
- Start with basic tools like acrylic powder, a brush, and dotting tools to create simple designs.
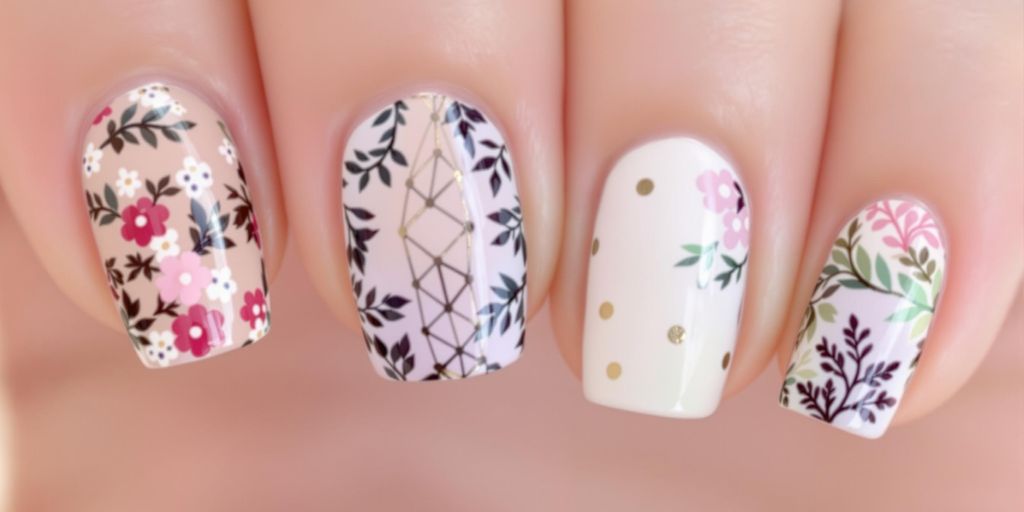
- Simple flower designs can be achieved using dotting techniques and contrasting colors.
- French tips can be given a fresh twist by adding floral accents or using different colors.
- Maintaining your nail art is important; regular touch-ups can keep them looking fresh.
Getting Started with Acrylic Nail Art
Essential Tools for Beginners
Alright, so you’re ready to dive into the world of acrylic nail art. First things first, gather your tools. Here’s what you’ll need:
- Acrylic powder and liquid: These are the basics for creating the acrylic overlay.
- Nail brush: Essential for applying the acrylic mixture.
- Nail tips: If you’re looking to add some length.
- Nail file and buffer: For shaping and smoothing.
- Dotting tools or toothpicks: Perfect for creating simple designs.
- Topcoat: To seal your masterpiece.
Having these tools at hand will make the process much smoother, trust me.
Choosing the Right Acrylics
Now, let’s talk about picking the right acrylics. It’s kind of like choosing the right paint for your canvas. You want something that’s going to last and look good. When shopping for acrylics, keep an eye out for these:
- Quality over quantity: It’s tempting to buy cheap sets, but investing in good quality acrylics will save you headaches later.
- Color variety: Start with a basic set of colors, then expand as you get more comfortable.
- Non-toxic formulas: Always check the label to ensure it’s safe for your nails.
Setting Up Your Workspace
Your workspace is your creative zone, so make it comfortable and organized. Here’s how to set it up:
- Choose a well-lit area: Natural light is best, but a good lamp works too.
- Organize your tools: Keep everything within arm’s reach to avoid smudging your fresh nails.
- Ventilation is key: Acrylics can have strong odors, so make sure your space is well-ventilated.
Setting up your workspace might seem like a chore, but it’s a game-changer for focusing on your nail art. A tidy space leads to tidy nails, after all.
With these basics covered, you’re more than ready to start your acrylic nail art journey. Remember, practice makes perfect, so don’t get discouraged if your first few tries aren’t salon-quality. Have fun and let your creativity shine!
Simple Flower Designs for Beginners
Creating Basic Petal Shapes
Alright, let’s get started with the basics. Creating flower petals on your nails is simpler than you think. You don’t need to be an artist to pull this off. Here’s a straightforward way to do it:
- Prep Your Nails: Start by removing any old nail polish and shaping your nails with a file.
- Base Coat: Apply a base coat in a color that you love. This will make your flower design pop.
- Dotting Tool Magic: Use a dotting tool (or even a toothpick) to create small dots on your nails. These dots will be the petals.
- Shape the Petals: With a fine brush, drag the dots outward to form petal shapes.
- Center of the Flower: Add a small dot of contrasting color in the center of your petals to complete the look.
Using Dotting Tools Effectively
Dotting tools are your best friend when it comes to nail art. They come in various sizes, and here’s how you can make the most of them:
- Choose the Right Size: For small flowers, use a smaller dotting tool. Bigger flowers call for larger tools.
- Steady Hands: Keep your hand steady by resting it on a table. This helps in creating uniform dots.
- Experiment: Don’t be afraid to try different patterns. Mix and match dot sizes for unique designs.
Adding a Pop of Color
A little color can make your flower designs stand out. Here’s how to do it:
- Accent Nails: Paint one or two nails in a bold color and add flower designs to them. This creates a focal point.
- Layer Colors: Use multiple shades for the petals to give them depth and dimension.
- Glitter and Shine: Add a touch of glitter or a metallic finish for an extra sparkle.
Flowers on your nails are like tiny gardens you can carry everywhere. They brighten up your look and add a touch of nature to your style. Whether you’re just starting or have been doing nail art for a while, there’s always something new to try.
For more vibrant and creative ideas, you might want to check out some Orchid nail designs inspired by the beautiful Hawaiian flower. Perfect for adding that tropical vibe to your manicure.
Mastering the Art of French Tips
Classic French with a Twist
The classic French tip is timeless, but why not add a little flair? Instead of sticking to the traditional white, try using bold colors like black or deep purple. These shades can give your nails a chic, modern edge. Using French manicure stickers can make this process a breeze—just place them on your nails, paint over, and peel off for a crisp line.
Incorporating Floral Accents
Adding floral designs to your French tips is a fun way to personalize your nails. You can paint tiny flowers at the base of each tip or along the sides for a delicate touch. Here’s a quick guide:
- Choose a light base color.
- Use a thin brush to create small petals.
- Add dots for the flower centers.
- Seal with a topcoat to protect your design.
Perfecting the French Tip
Achieving that perfect French tip can be tricky, but practice makes perfect. Start by selecting a sheer or nude base polish to complement the tip color. Use a steady hand or guide strips to paint the tips. Remember, a little acetone on a brush can help clean up any mistakes. And always finish with a topcoat for shine and durability.
French tips are the little black dress of nail art—they never go out of style and can be dressed up or down. With a bit of creativity and practice, you can master this classic look and make it uniquely yours.
For more expert tips and techniques to enhance your nail art skills, consider learning from the professionals at Magpie Beauty. Their insights can help elevate your nail artistry to a whole new level.
Exploring 3D Flower Nail Art
Sculpting with Acrylics
Creating 3D flower nail art is like sculpting tiny masterpieces right on your fingertips. The key is to use the right acrylic mix. You want it to be thick enough to hold its shape but still workable. Here’s a quick rundown on how to get started:
- Prep Your Nails: Make sure your nails are clean and filed to your desired shape.
- Apply Acrylic Base: Start with a thin layer of clear acrylic as a base.
- Mix Acrylic Properly: Combine the acrylic powder and liquid until you get a dough-like consistency.
- Sculpt Petals: Use a small brush to pick up a bead of acrylic and shape it into petals. You can layer them to create fuller flowers.
Remember, practice makes perfect. Don’t worry if your first few attempts aren’t flawless. You’ll get there!
Layering Techniques for Depth
Adding depth to your 3D flower designs is all about layering. Think of it like building a cake—each layer adds more dimension and interest.
- Base Layer: Start with a flat flower shape.
- Middle Layer: Add slightly smaller petals on top of the base.
- Top Layer: Finish with the smallest petals in the center.
Each layer should dry a bit before adding the next to prevent them from blending together. This technique gives your flowers a realistic, lifelike appearance.
Choosing the Right Colors
Color selection can make or break your 3D flower nail art. You want colors that not only look good together but also pop against your nail base. Here are some tips:
- Contrast is Key: Use contrasting colors for your petals and nail base to make the flowers stand out.
- Pastels for a Soft Look: For a more subtle design, pastel shades work beautifully.
- Bold Colors for Impact: If you want your nails to be a statement piece, go for bright, bold colors.
“Experiment with different color combinations to find what suits your style. There’s no right or wrong—just what makes you happy!”
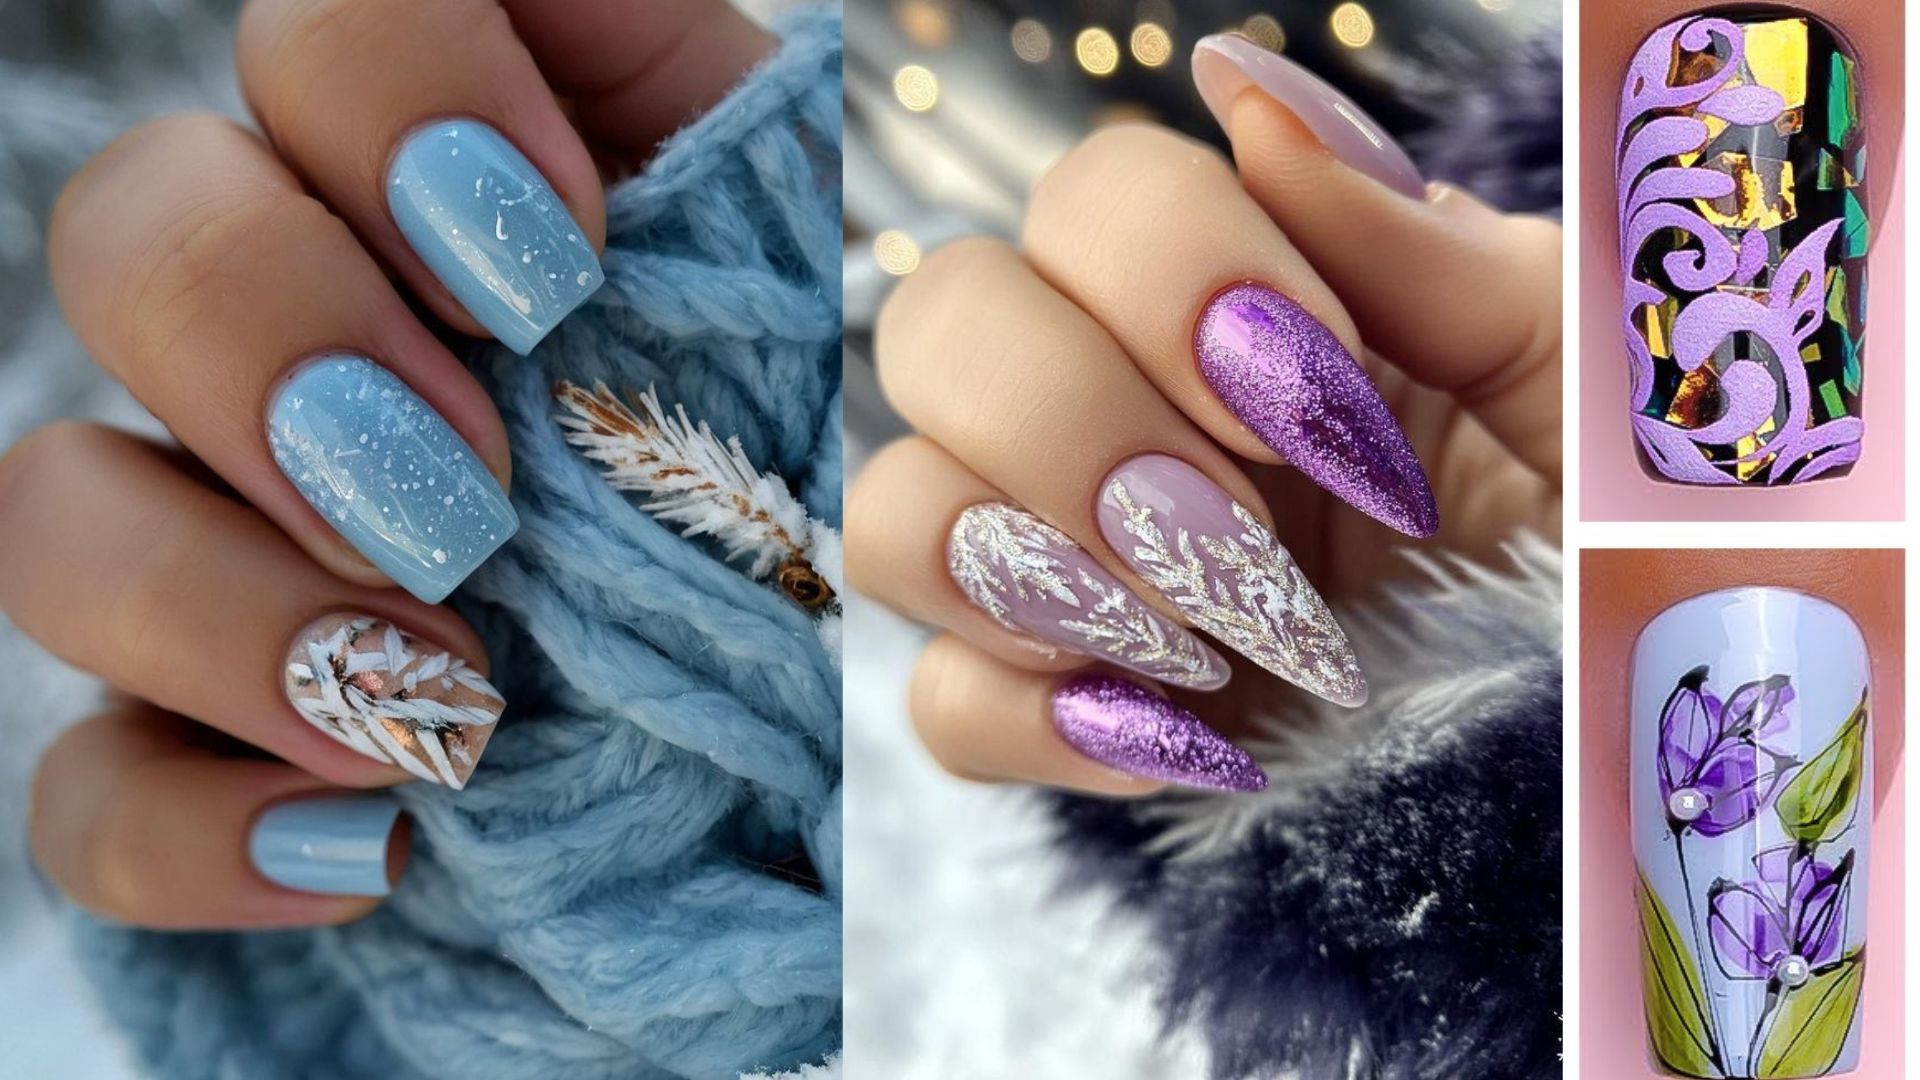
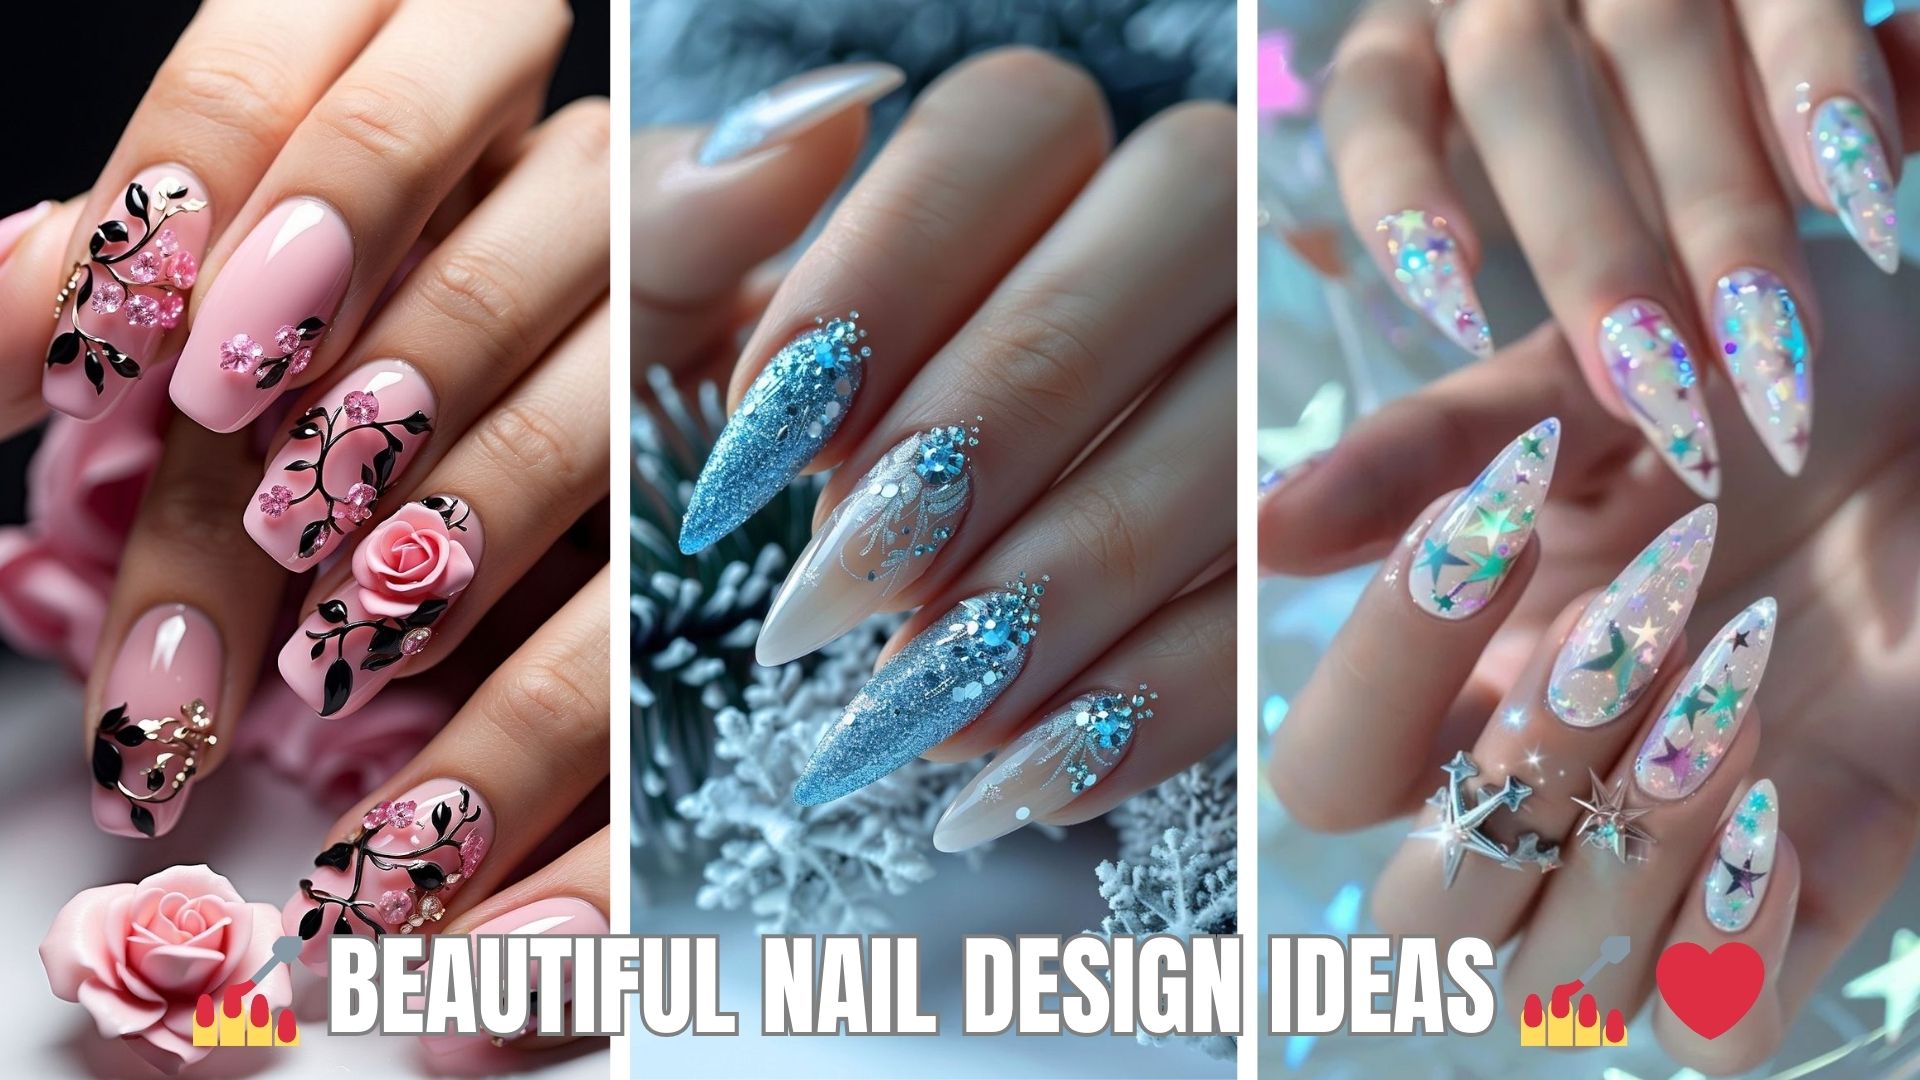
For more ideas, you might want to explore a collection of beautiful 3D flower nail designs that feature a variety of styles and colors. Whether you’re into whites with pearl and glitter or light blues with gold accents, there’s something for everyone.
Quick and Easy Nail Art Hacks
Using Stickers and Decals
Alright, let’s talk about the magic of nail stickers and decals. These little guys are lifesavers when you’re short on time or just not feeling super artistic. They’re the ultimate hack for creating cool designs without any fuss. Just peel, stick, and seal with a topcoat. You can find a ton of designs, from cute little hearts to edgy geometric shapes. And the best part? They’re super affordable and can totally transform your look in seconds.
Creating Designs with Tape
Tape is not just for wrapping gifts, folks. It’s a hidden gem in the nail art world. You can use it to create sharp lines, funky patterns, or even a classic French tip. Here’s how you do it:
- Paint your nails with a base color and let it dry completely.
- Cut pieces of tape into your desired shape or pattern.
- Stick the tape onto your nails and paint over it with a contrasting color.
- Carefully peel off the tape while the polish is still wet for clean lines.
- Finish with a clear topcoat to lock in your design.
Quick Drying Tips
We’ve all been there—waiting for nail polish to dry is like watching paint dry, literally. But don’t worry, I’ve got some tricks up my sleeve:
- Use a quick-dry topcoat. This is a game-changer and cuts drying time in half.
- Dip your nails in a bowl of cold water for a few minutes. The cold helps set the polish faster.
- Try a hairdryer on the cool setting to speed up the process.
Nail art doesn’t have to be complicated or time-consuming. With these easy and trendy nail art designs, you can have fun and express yourself without spending hours at the salon. So grab your supplies and start experimenting!
Maintaining Your Acrylic Nail Art

Preventing Chips and Cracks
Keeping your acrylic nails looking fresh and fabulous is all about preventing those pesky chips and cracks. Here’s the deal: acrylics are tough, but they’re not invincible. So, treat them with care. Avoid using your nails as tools—like opening soda cans or scraping off labels. It’s tempting, but trust me, your nails will thank you. Also, when cleaning, wear gloves. Household chemicals can be harsh and might weaken the acrylic.
Touch-Up Techniques
Even with the best care, sometimes life happens and you get a chip or two. Don’t panic! Here’s how to handle it:
- For small chips, grab a fine brush and some matching polish. Carefully fill in the chipped area. It’s like a mini paint job for your nails.
- If a nail breaks, file it down gently and reapply a thin layer of acrylic if needed.
- For major mishaps, consider visiting a professional. They’ll have your nails looking brand new in no time.
When to Visit a Professional
Knowing when to call in the pros is key. If your nails are lifting or you notice gaps, it’s time for a refill. Scheduling refills every two to three weeks is crucial to keep your nails healthy and prevent damage. Plus, a professional touch can help maintain that salon-fresh look we all love.
Regular maintenance isn’t just about looks; it’s about keeping your nails healthy and strong. Don’t skip those touch-ups, and remember, a little care goes a long way in keeping your acrylics stunning.
How to Do nail Art Designs for Beginners
Trendy Acrylic Nail Designs
Mixing Patterns and Colors
If you’re looking to make a statement with your nails, mixing patterns and colors is the way to go. Imagine pairing stripes with polka dots or chevrons with florals. The key here is to balance bold patterns with more subtle ones to avoid overwhelming the eye. Start with a neutral base color, then add your patterns using a fine brush or even nail stickers if you’re not feeling too confident with freehand designs. Don’t be afraid to mix it up with different shades—think pastel blues and pinks for a soft look or vibrant reds and yellows for something more eye-catching.
Incorporating Metallics
Metallics can add a touch of glam to any nail design, and they’re super trendy right now. You can go all out with a full metallic nail or keep it subtle with metallic accents. For example, try a nude base with metallic silver tips or add gold foil to one or two accent nails for a chic look. Metallics work great with almost any color, so feel free to experiment. Just remember to use a good topcoat to keep that metallic shine lasting longer.
Seasonal Design Ideas
Nail designs can be a fun way to celebrate the seasons. In spring, you might go for ombre almond nails with pastel shades like lilac and yellow, perfect for a fresh and feminine vibe. Summer calls for bright, bold colors—think neon pinks and greens. As the leaves change in fall, switch to warm tones like burnt orange and deep reds. And for winter, you can’t go wrong with icy blues or even a festive red and green combo for the holidays. The possibilities are endless and allow you to express your personality through your nail art all year round.
“Nail art is not just a trend; it’s a form of self-expression. Whether you’re into simple designs or more intricate patterns, there’s something for everyone in the world of acrylic nails.”
DIY Nail Art for Every Occasion

Casual Everyday Designs
Alright, let’s talk about everyday nail art. You don’t need to go all out to have nails that look fab. A simple nude base with a splash of color can totally transform your nails. Try a pastel shade with a small triangle of foil at the cuticle for a chic look. Or how about some colorful stripes on a nude base? It’s super easy to do with nail stripe stickers, and you can mix and match colors for a fun vibe.
Elegant Evening Looks
For those special nights out, you want your nails to make a statement. A classic French tip never fails, but why not add a twist? Shift the tip to the corner of your nail and use a bold color, like a deep red or metallic gold. If you’re feeling adventurous, go for a bejeweled look. Long coffin nails are perfect for this, but it works on short nails too. Just grab some sparkly nail stickers and go to town!
Festive Holiday Themes
When the holidays roll around, it’s the perfect excuse to get creative with your nail art. Think red and green for Christmas, or orange and black for Halloween. You can even try a blue gradient for a winter wonderland feel. If you’re not into painting, nail stickers are your best friend. They come in all sorts of festive designs, and they’re a breeze to apply. Just peel, stick, and you’re good to go!
Nail art is all about expressing yourself. Don’t stress over perfection; have fun and let your personality shine through your designs. Whether you’re going for a simple look or something more extravagant, there’s a nail art style for every occasion.
Common Mistakes and How to Avoid Them
Overloading on Acrylic
Ever think more is better? Not with acrylic nails! Piling on too much acrylic can make your nails heavy and prone to breaking. Keep it light and thin for a natural look. Here’s how to avoid overdoing it:
- Use a small bead of acrylic and apply gently.
- Spread evenly across the nail to avoid thick spots.
- Practice makes perfect—start light and add more if needed.
Ignoring Nail Health
Neglecting your natural nails can lead to problems. Healthy nails are the foundation of great nail art. Here’s what you can do:
- Keep your nails clean and dry to prevent infections.
- Moisturize your cuticles regularly.
- Use a nail strengthener to keep them robust.
Skipping the Topcoat
A topcoat is like the cherry on top of a sundae—it seals the deal! Skipping it can leave your design vulnerable to chips and scratches. To ensure your nail art lasts longer:
- Always apply a topcoat after your design.
- Reapply every few days to maintain shine and protection.
- Choose a high-quality topcoat for the best results.
Remember, a little patience and care can go a long way in achieving a flawless finish. If you want to avoid common nail art mistakes like neglecting cuticle care, start with the basics and build up your skills. Happy painting!
Wrapping Up Your Nail Art Journey
Alright, so there you have it! Getting into nail art, especially with acrylics, might seem a bit daunting at first, but trust me, it’s totally doable. With just a few basic tools and some creativity, you can transform your nails into little works of art. Whether you’re going for simple dots or trying your hand at a floral masterpiece, the key is to have fun and experiment. Don’t stress if it doesn’t come out perfect the first time—practice makes perfect, right? So grab your brushes, pick your favorite colors, and let your nails do the talking. Happy painting!